Been running the mill for over a year now so I have a pretty good idea of the performance and capability.
Mill Stats:
Travel Area(Work Envelope): 620mm * 620mm * 250mm (XYZ) (24.4in*24.4in*11in)
Table Size 26in X 26in Table is 1.75in thick. Table alone weighs over 300lbs
Spindle Motor: 2.2Kw 5000RPM to 24000RPM
Collet: ER20 (comes with 1/8, 4mm and 6mm collets) Also comes with a few endmills (1/8, 4mm and 6mm and a couple engraving bits)
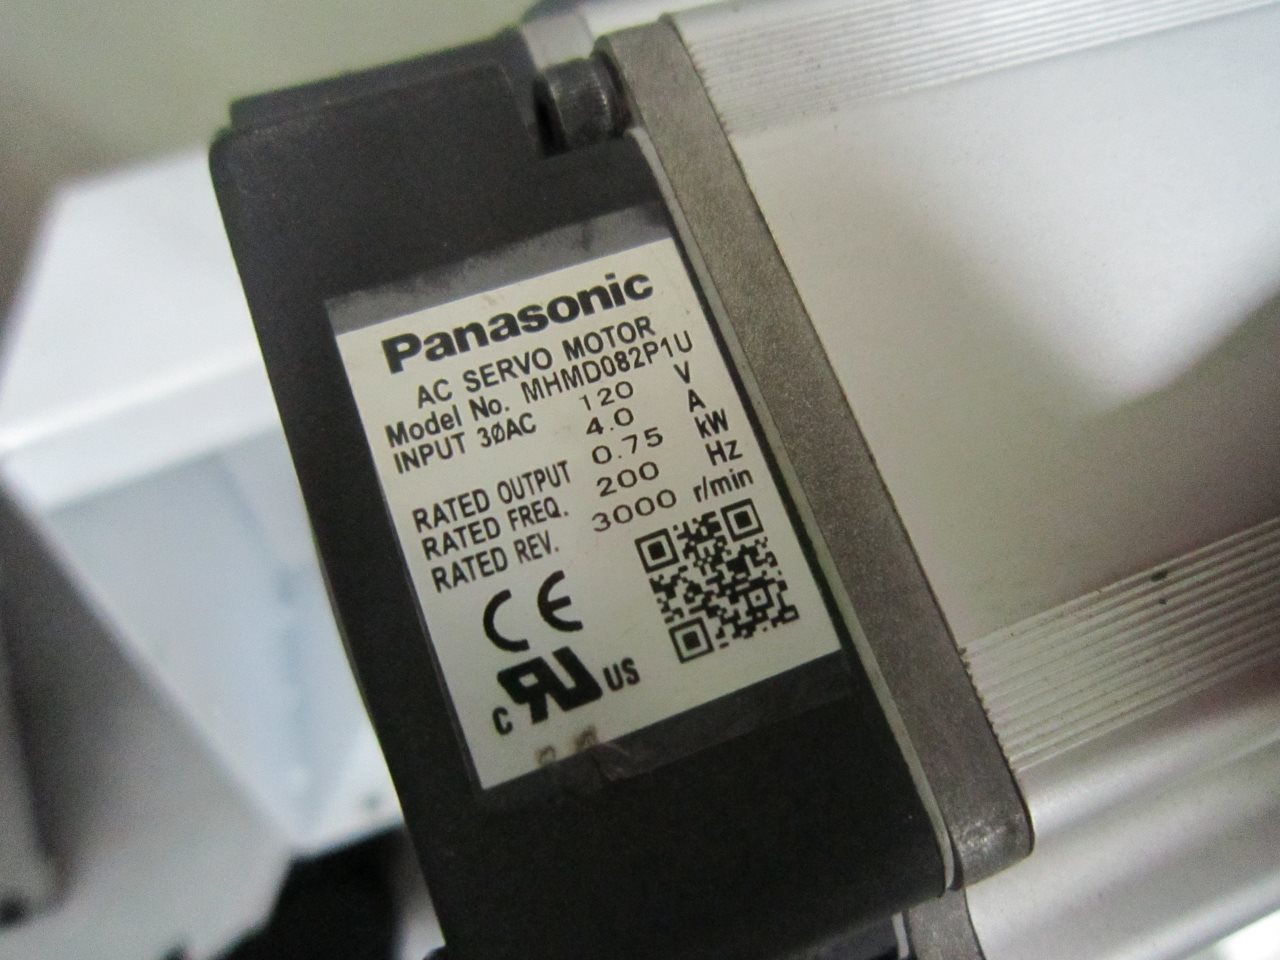
Drive System: 750W Panasonic brushless AC servo motors
Hiwin Linear Ways – 4700lbs dynamic load, High precision class 0.01mm variation max. Running parallelism is 13u meter (0.5 thou of an inch)
Min step: 0.0005mm (10,000 steps/turn) (ballscrew 5mm/turn) (can be re-configured, mine set to 0.001)
Theoretical max speed: (servo: 3000 RPM) 15meter/min, 590IPM (mine set to 236IPM)
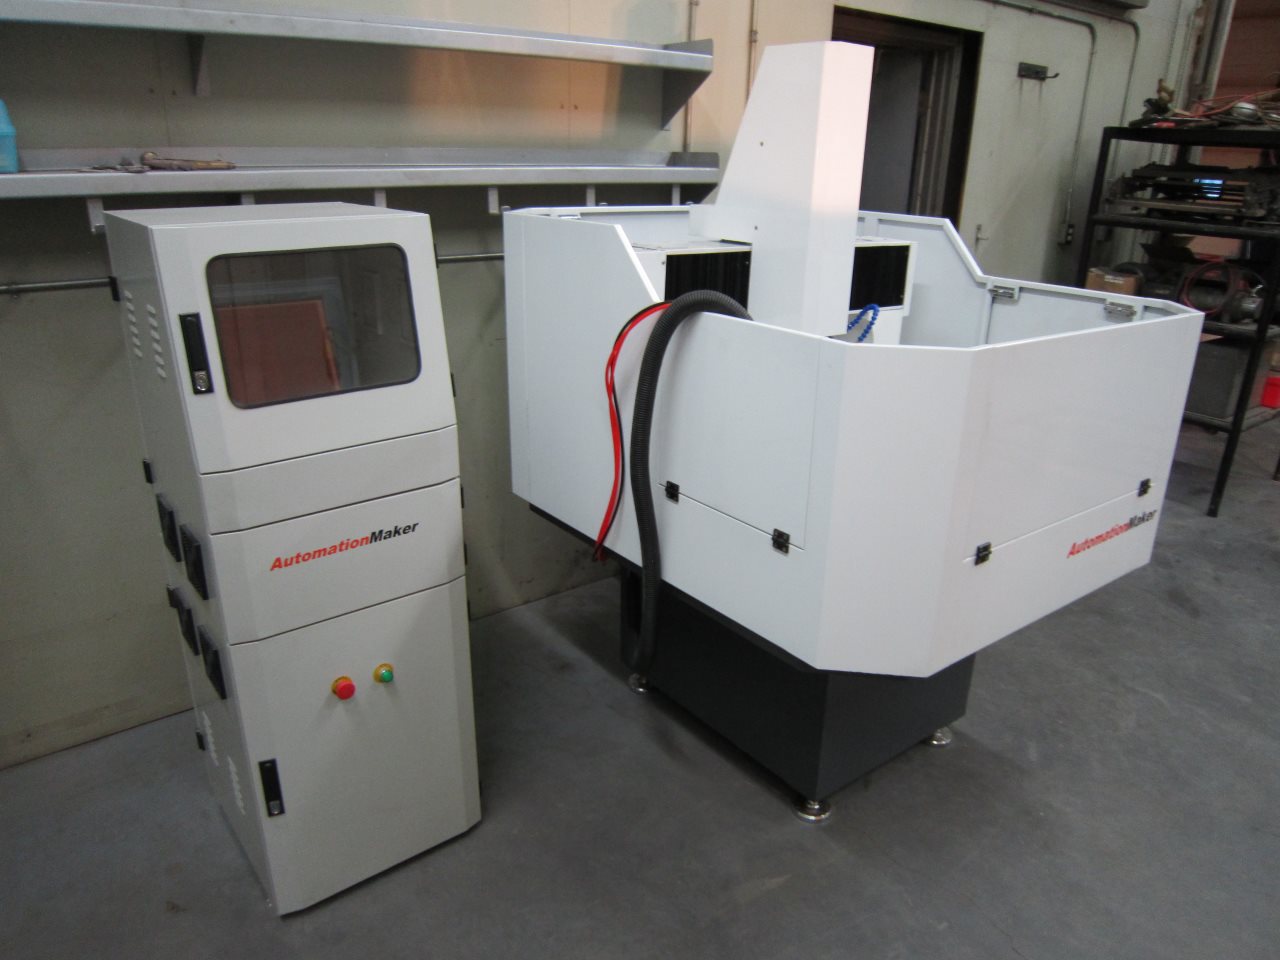
Crates arrived in good condition, smaller box has the servo controller, spindle driver and computer. Took about two months from initial payment to arrival.
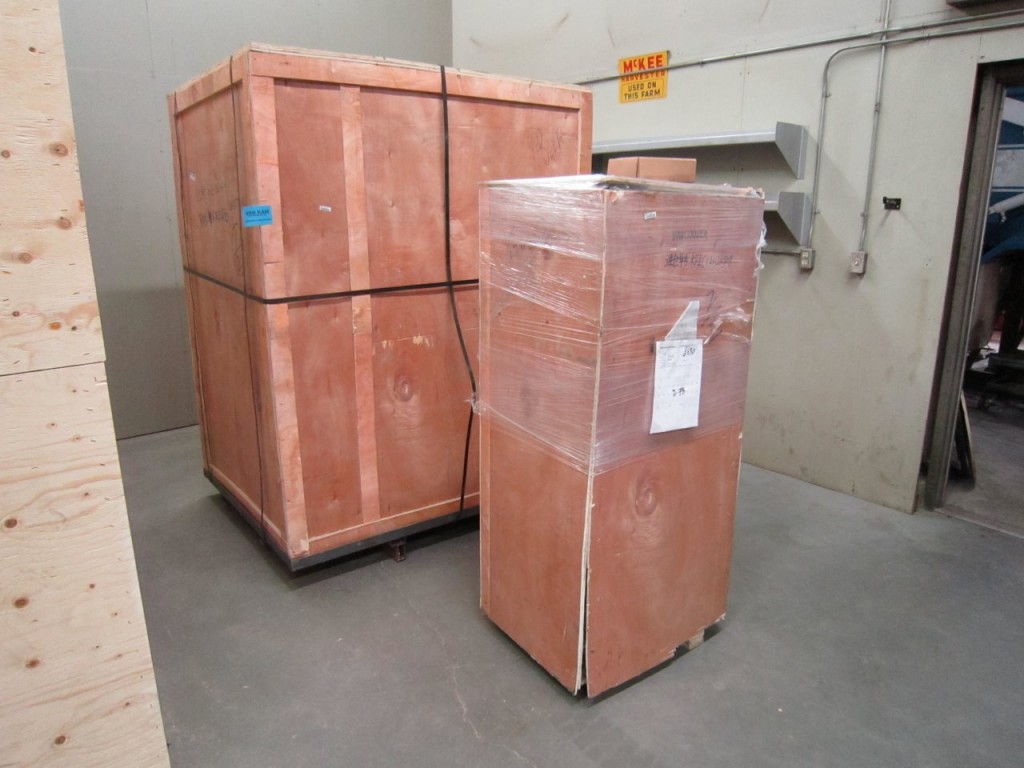
Unpacked and moved into place. Considering this weighs as much as my car, we needed to use a forklift.

I opened up the covers and took a look at the internals. Pretty clean actually, no casting sand, decent quality casting and well laid out. Easy to service and disassemble if needed. Linear ways may be a bit undersized. Ball screws are metric 5mm/turn not the usual 5 turns per inch.
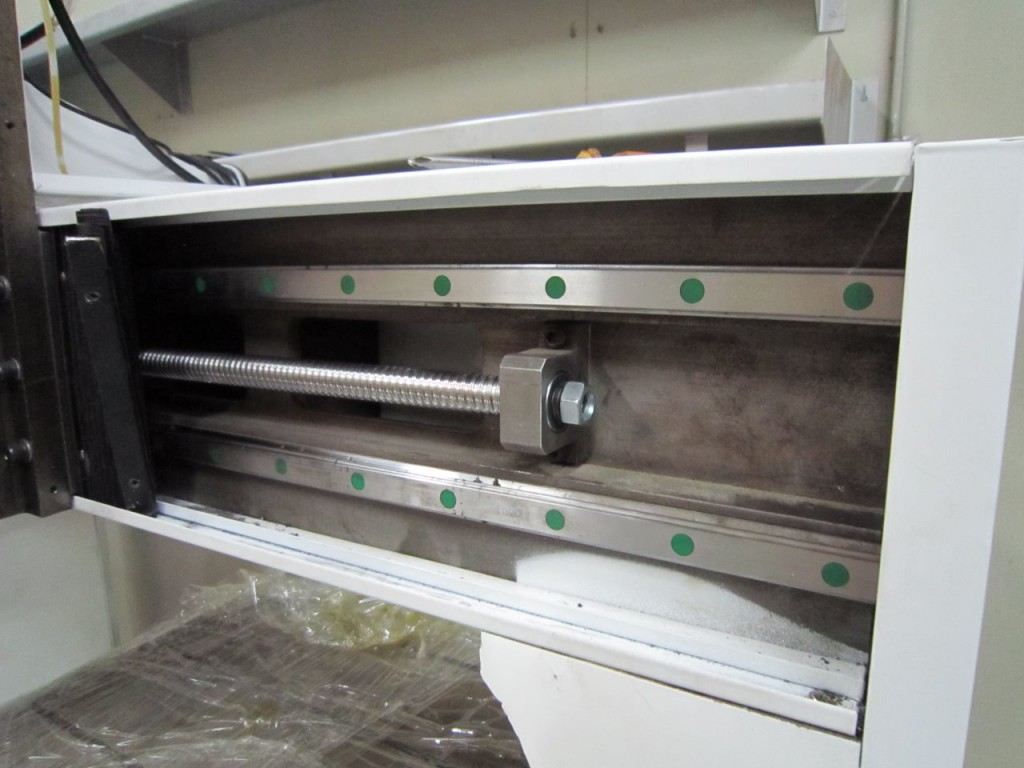
Panasonic servo motors, 1HP output. Better than I expected, high speed and ample torque.

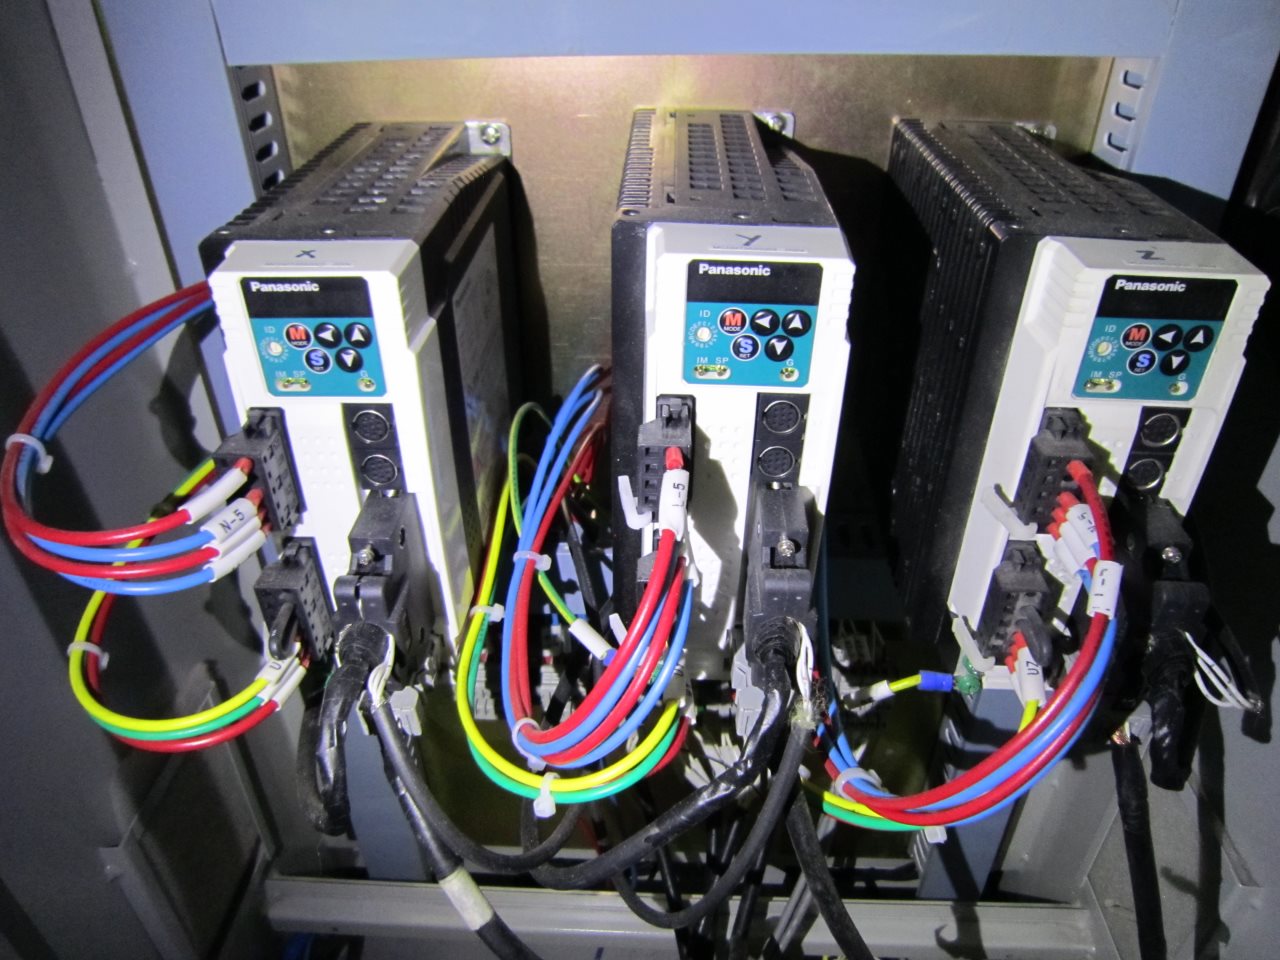
Also matched with Panasonic servo drivers. They were not set up correctly and the wiring needed a bit of work, but it was well labeled.

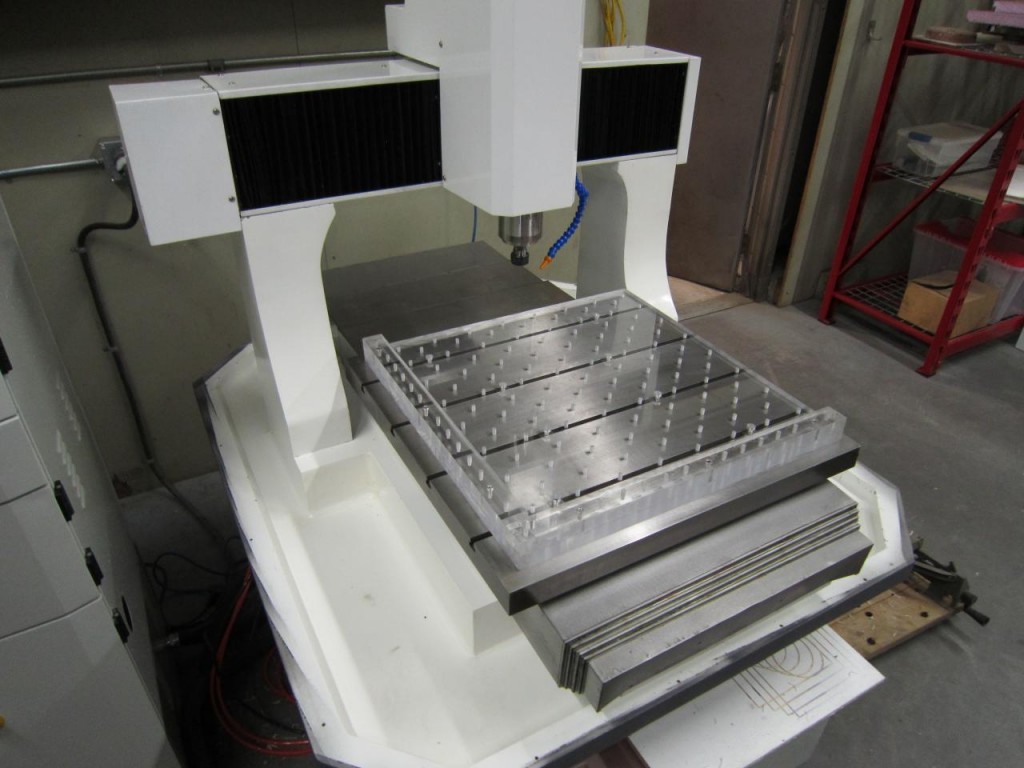
Assembled and up and running, ran a few test parts then built the acrylic tie down table. Better to cut into that then the steel underneath. Nice shiny and clean, not for long…
I use the mill to create my own PCB’s, this is a breadboard adapter for a TQFP44. I may be able to go a bit finer with some effort. Pretty reliable accuracy down to 2 thou.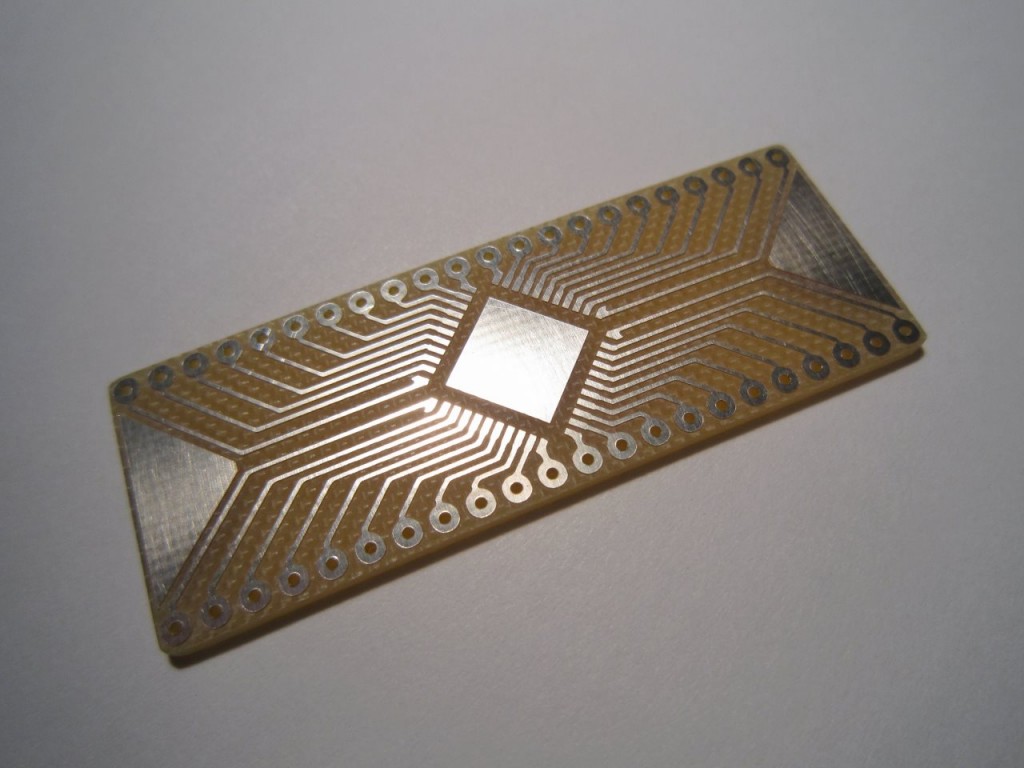
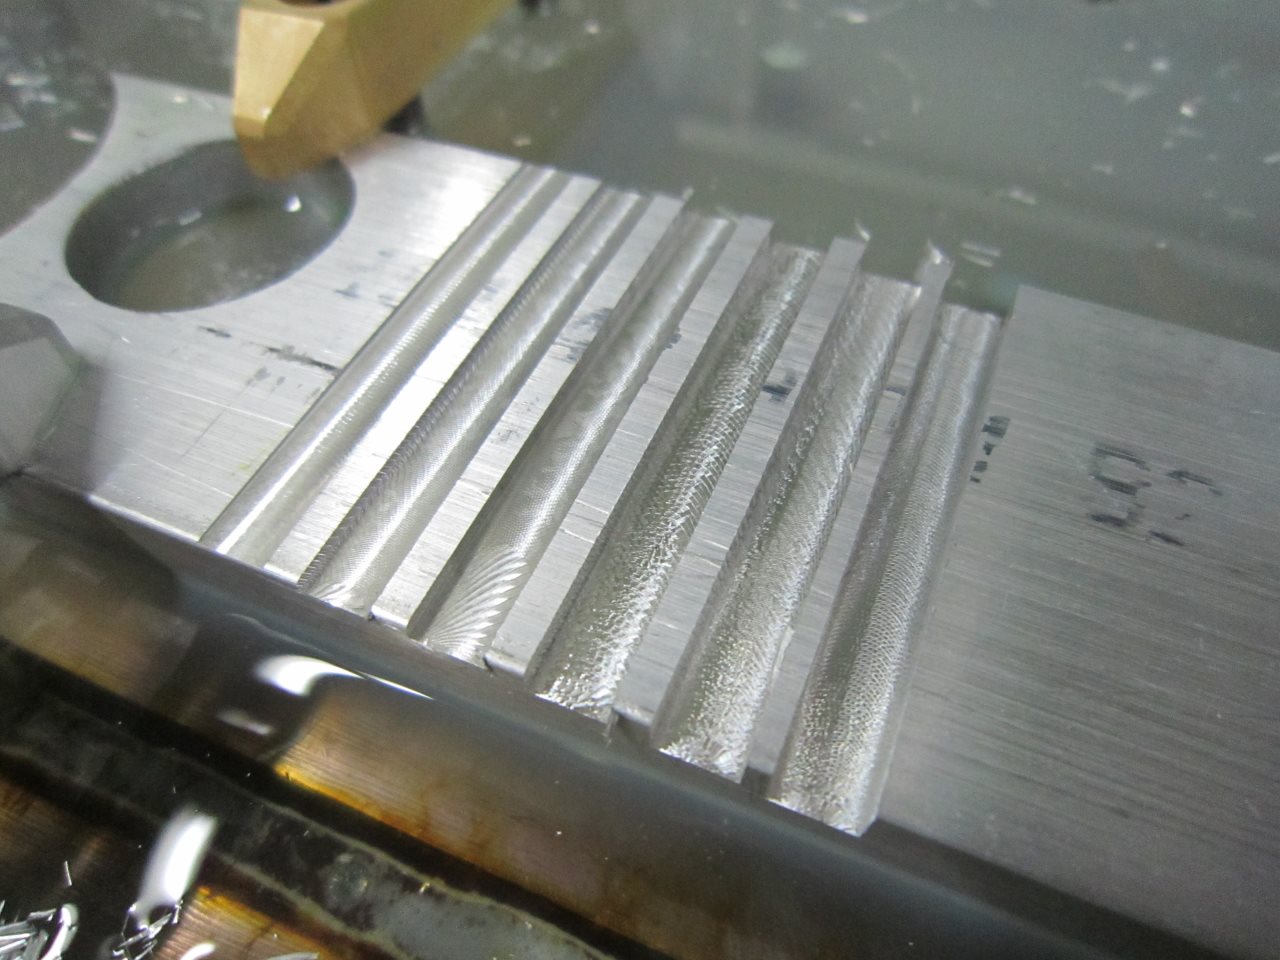
A still image from a mill depth test. Maximum depth of cut was about 1.5mm before it started to chatter. Need to upload the video of this.

So review of the mill so far:
The Good:
– The mechanical hardware is good. German ball screws, Panasonic servos, Panasonic drivers, good casting, solid steel.
– The mill runs smooth and is very quiet, all axis and especially the spindle.
– The work envelope is larger than most comparable mills.
– Decent accuracy
– Low maintenance linear ways
The Bad:
– Linear ways are a bit under sized, machine not as rigid as it could be.
– The coolant tank leaked and the pump couldn’t actually pump coolant up to the spindle. I ended up building a new coolant tank and used a new pump.
– The PC interface is not great, NC studio card didn’t work, supplied PC software is horrible. I replaced the whole works with Mach3 and a new breakout board (C11). Things are working well now.
– Cabling is labeled well and cabling organization is ok, could be better but it’s not a mess. I can see that they didn’t use a proper crimp tool for the connectors, someone just used a pair of side cutters, a small tug and the wire came out. I re-crimped them with a proper crimp tool.
– The Y-axis way covers needed to be moved to get the full movement of the axis.
– Seems a bit odd that the inductive limit switch for the y-axis is at the front and not the back. I like to “home” at the bottom left corner not the top left.
The mill works well for what I use it for; prototyping work and small batch production. It can mill aluminum and brass without much problem but steel causes more vibration than I would like. If a smaller work envelope was acceptable I would look at the Tormach PCNC1100 as something in this price range, better rigidity and product support.

 I am working with a fantastic costume/mascot builder in Vancouver to put these into a suit. Currently finishing up the design of an improved pair.
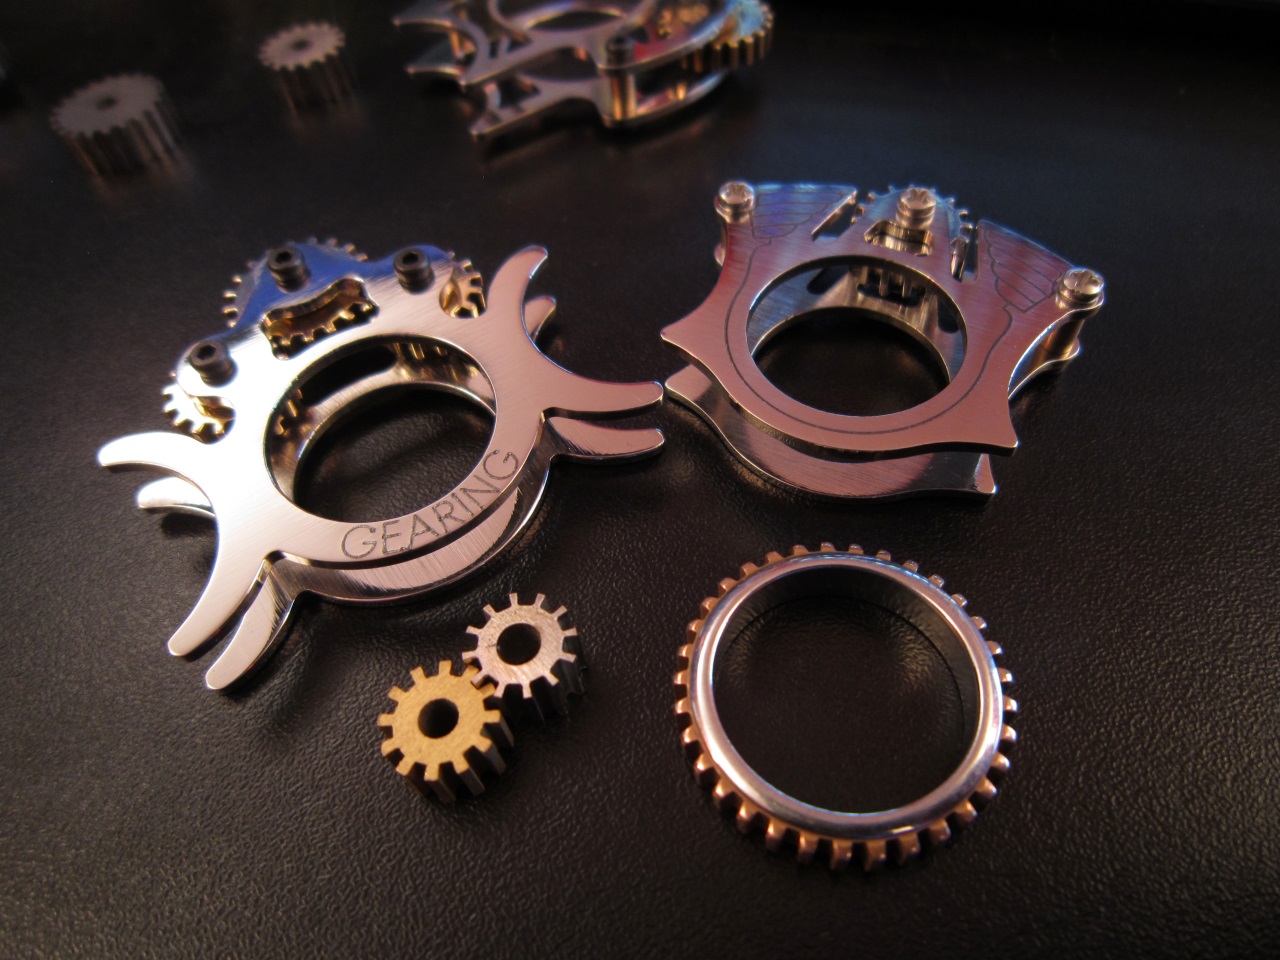 more info can be found at http://gearingproject.com/